
A few months back a friend requested for next Christmas an Abominable Snowman be made. As I read the pattern the author suggested that we try one of her other patterns so we’re familiar with the type of amigurumi as the yarn for the abominable is a challenging fuzzy yarn.
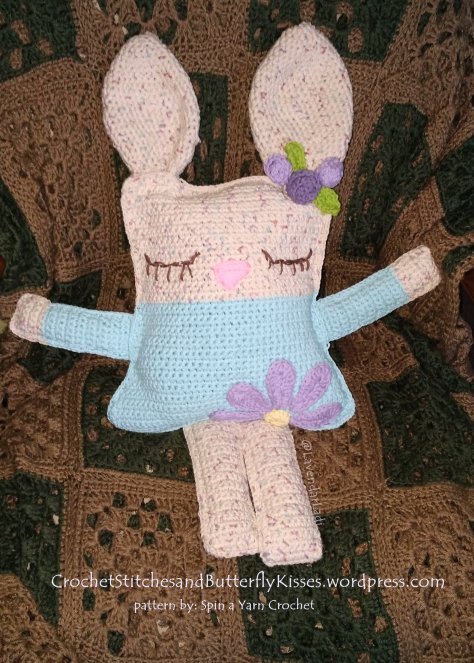
When strolling through her patterns (they are so adorable!) I decided to make the Ragdoll Spring Bunny by Spin a Yarn Crochet.
This project was my forth amigurumi and I wish it had been my first. The pattern is clearly written and gives you quick results! I did add a touch here and there to suit my fancy. (in the assembly part). The differences a purely aesthetic.
The only thing I’d ask the author to update is: Please add the amounts of yarn needed in the materials list. [She does note the quantities in a reply to a reader who asked.] This and her tips on ear floppiness is an excellent example of why you should read not only the whole pattern before starting but the comments posted as well !!
While the pattern gives you everything you’ll need to be successful with creating your Spring Bunny, I want to share a couple notes for anyone who is not experienced with amigurumi making. These are a few bits that I discovered.

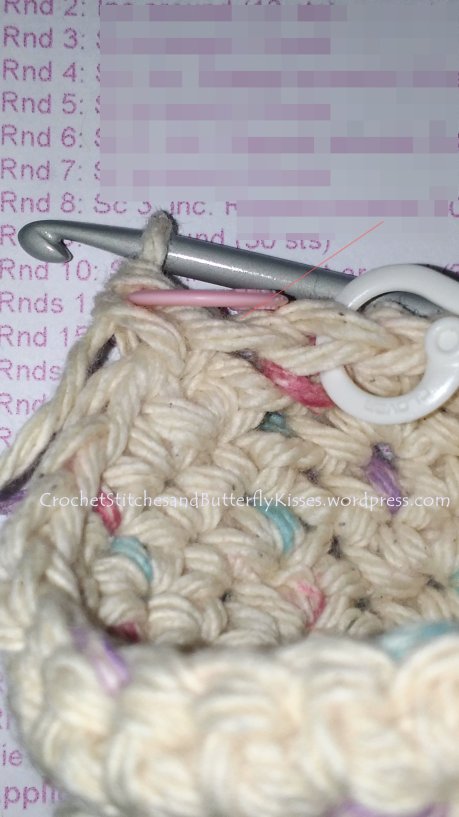
First, use stitch markers!!!!! I can not stress how important this is! I mark the first stitch in the row and the last. I’ll move these markers as I go as this helps keep an even edge. It’s even more important in rounds! I have found that I’ll mistake the join from the previous row as a stitch occasionally. Marking the last stitch in a round prevents frogn (undoing/ripping out of rows done wrong)
Second, take a moment to learn how to do an invisible decrease/increase. While this pattern does not specify to use invisible stitches I like the results better. I learned how from this video.
Third, as I mentioned above…. read all the pattern (and comments) before you start.
I’ll often underline key instructions and print all the numbers when the pattern says
Row 23 – 33 repeat _____
This way I can track exactly what row I am working on. I’ve been using a magnetic message board to hold my pattern and I just move the little magnet on top of the row number that I’m on.

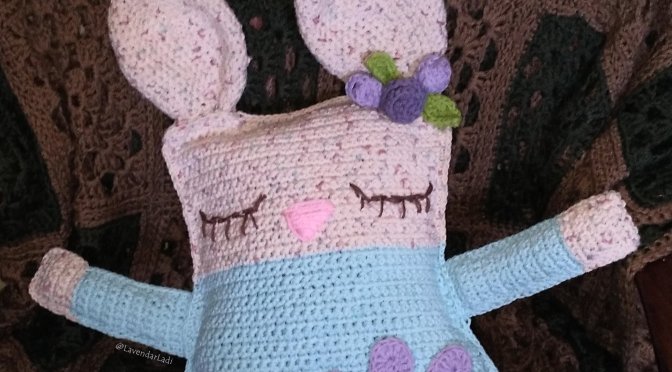
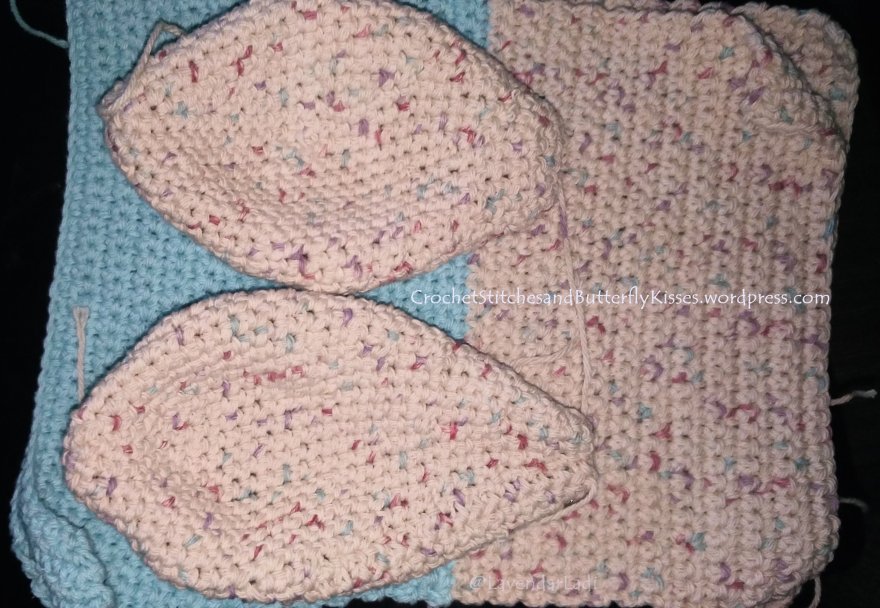
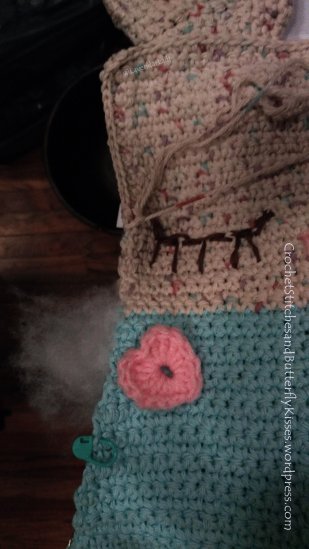
As I started to assemble my bunny I noticed that my ears didn’t match. Ooops! I obviously got distracted and didn’t move my row counter correctly for one of the ears. I decided the different sizes gave her a bit of character and left them mismatched.
I also found that I didn’t like how her ears flopped. While the author offered a few tips (in replies to readers in the comment section) these tips didn’t seem to help. I ended up inserting flattened toilet paper tubes which gave the ear some more structure. The ear with the rosettes stands up but the other still flops slightly. Oh well, she’s still adorable!!
Another addition to my Little Miss Sleepy Bunny is a wee crochet heart (pattern here). As I stuffed Little Miss, in the stitches of the heart I gave her bravery and kindness to pass on to whoever she sleeps next to.
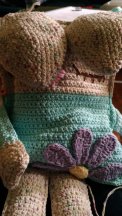
I personalized my ragdoll bunny a wee bit by using two shades of purple for the rosettes and adding a couple leaves. I roughly followed this leaf pattern
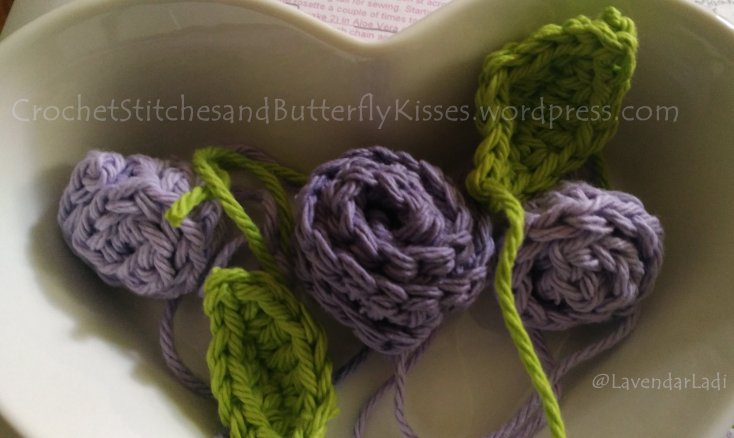
One last tip to pass along. A while ago while following one of Crochet Crowd’s tutorials Mikey pointed out that many people mistakenly count the beginning slip stitch on your initial chain as a stitch. It’s important for your stitch count, especially when making the flower petals and tiny leaves, to NOT use the beginning slip stitch/knot.


![]()
I am pleased with how my Ragdoll Spring Bunny turned out!


2 thoughts on “Little Miss Sleepy Bunny…Working the Pattern.”